

Little Pullip Customization
The Little
Pullip head fits the 21cm (or 23cm) Obitsu body perfectly. This tutorial explains
how to add the Little Pullip to the 21cm Obitsu body. The difficult part of this
tutorial is to open up the neck opening of the head to fit it to the body.
<Tools used for this project> electric rotary tool, screw driver
<Tools used for this project> electric rotary tool, screw driver
Taking Pullip's head off the stock body
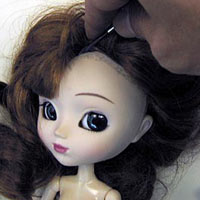
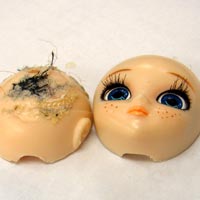
Let's
start with removing her wig. Take your slotted screwdriver and insert slowly between
the head and wig. Once you open up some space in-between, work it around to detach
the wig from the head.
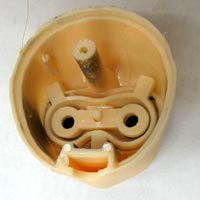
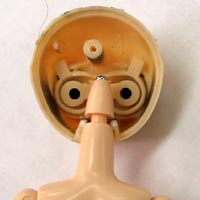
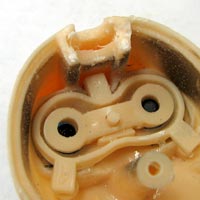
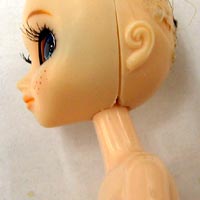
Remove a screw to take the back part of the head off. The above pictures shows
the front part of head after taking removing the back portion.
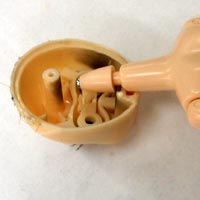
The neck attachment will go into the head
like this You will see the neck attachment part is too big for the head.
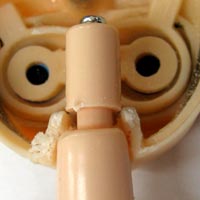
If
we insert the neck attachment into the head like this, the neck will end up being
too long.
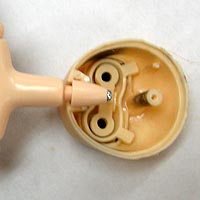
To
make the neck show shorter, we need to insert the top of the neck like this.
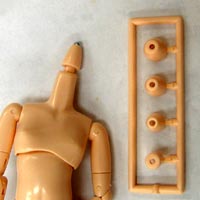
Switch the neck attachment to the smallest
attachment.
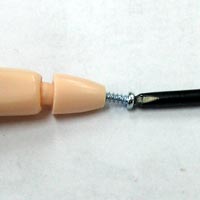
To
take the current part off, unscrew the top of the neck attachment.
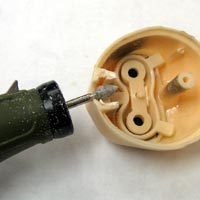
Open up the opening using an electric rotary
tool so that the neck fits in. If you don't have an electric rotary tool , use
sand paper.
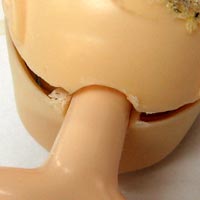
The
opening will be like this.
After switching to the smaller neck attachment,
place the neck into the head.
Put
the back side of the head back on. You will notice you need to open up the opening
on the back side of the head also.
Screw the screw on the back part of the
head to reattach both to finish.
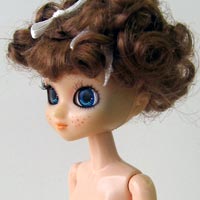
We used the Monique 4.5 inch wig in this tutorial.


© Parabox Japan - PARABOX Ltd. All rights reserved.