

Creating a 60cm male body
This tutorial explains
how to make changes to a face to make it the way you want it, by
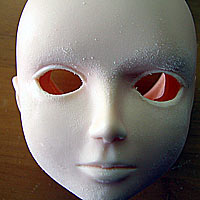
sanding a Obitsu 60-001 head.
This is not the only method. Be creative and discover your own way!
This is not the only method. Be creative and discover your own way!
<Tools used for this
project>
Obitsu 60-001, electric rotary tool,
NT dresser,
q-tips,
Mr.COLOR super clear
(Semi-gloss),acrylic
adhesive agent,
waterproof sand paper(240,
600),
delustering agent

Sand the area that you want to smooth. Sand it
roughly, using coarse #100 and #200 grit sand papers. The NT dresser,
which is the tool in the picture, is normally used for woods,
but it works good for this application. You can use the tip to
sand the outline of eyes or hollow areas.
Sand the whole face. Don't worry about
the details at this point.
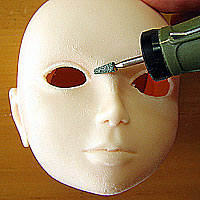
Use an electric
rotary tool for sanding hollow areas or curves. If you
don't have an electric rotary tool, be creative and wrap sandpaper
around something round.
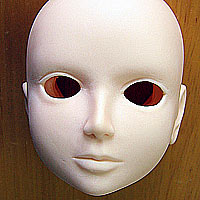
Results of rough sanding. The eyes became a little
bigger. The end of the eye openings are not smooth, so we take
care of them later.
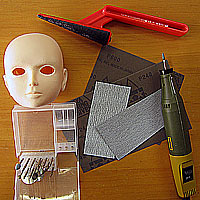
These are the tools we used on this page. After
rough sanding, we use #600 water-proof paper while pouring water
over it to finish.
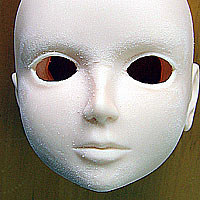
This picture is taken after we used #600 paper.
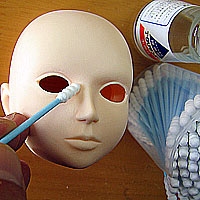
For rough portions of the eye openings, soak q-tip
in acrylic adhesive agent,
and wipe the area that you want to smooth with it.
Also, clean up the surface with an acrylic
adhesive agent. The face becomes smooth and moist.

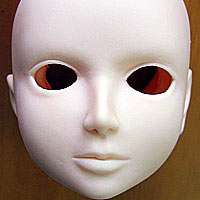
Before on the left, and after on the right


© Parabox Japan - PARABOX Ltd. All rights reserved.