 Tutorials
for putting make-up on eye opening heads
Tutorials
for putting make-up on eye opening heads
Tutorials for putting make-up on eye opening heads
|
|
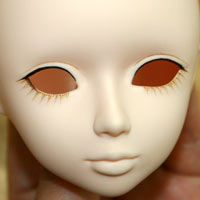
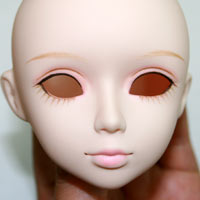
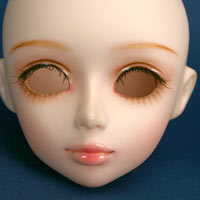
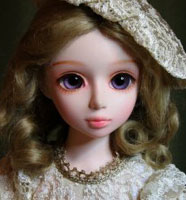
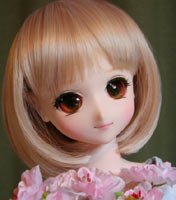
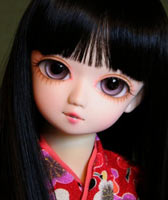
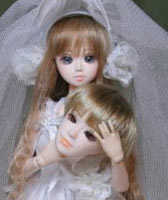
Here is the basic steps to put make-up on eye opening heads using the Parabox Gretel head. This information is presented by Ms. Suo, one of the Parabox contest winners. Her face-up work samples are listed on the bottom of this page. |
 |
 |
 |
|
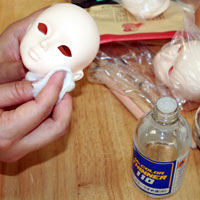
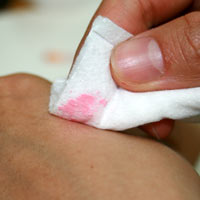
1. Wiping
the head with a weak thinner. This step is required because it helps paint stay
on soft vinyl heads easier.
|
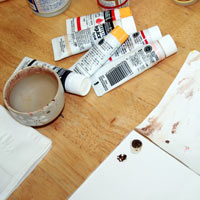
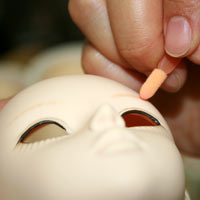
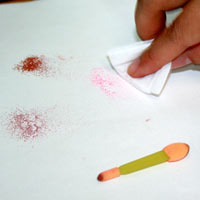
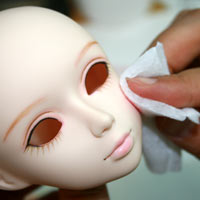
2.
In this tutorial she uses a few warmer colors of acrylic paints and a black. Add
some water to dissolve the paints.
|
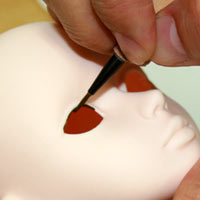
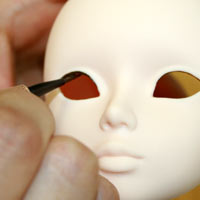
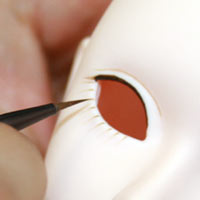
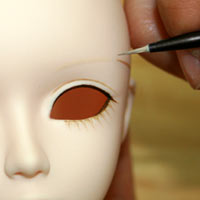
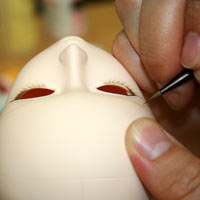
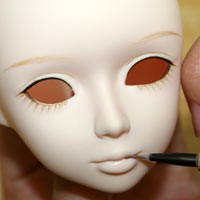
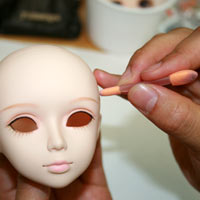
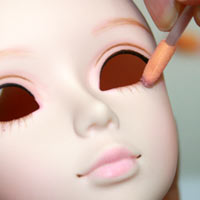
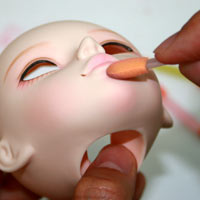
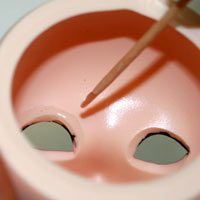
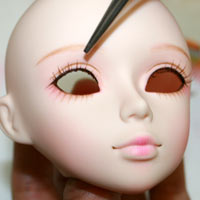
3.
Add black paint on the inner edge of the eyelids. She will put eye lashes on the
same later. If you want to make a big eyes face, put the paint on the wider area.
If you want to make a gentle face, put it on the thinner area.
|
 |
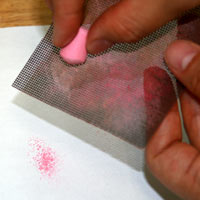
 |
 |
|
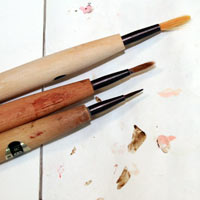
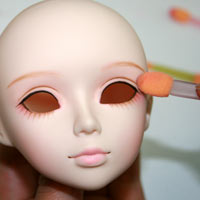
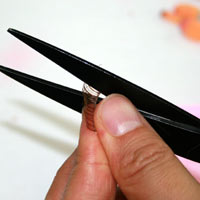
4. These are the three brushes that she
uses. She doesn't like the thin and short brushes because they don't hold enough
paint to make long lines.
|
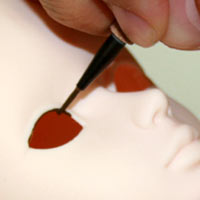
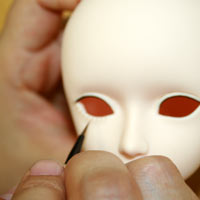
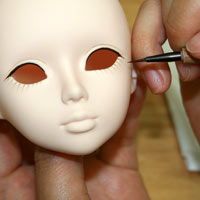
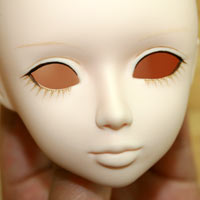
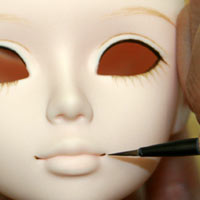
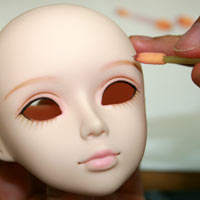
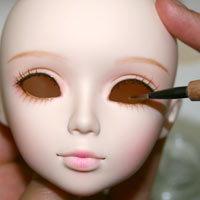
5.
Paint the top edge of the eye opening using the middle section of your brushes
bristles. Do not paint all the way to the inner our outer corner of the eye opening,
but only the portion where the eyelash will attach
|
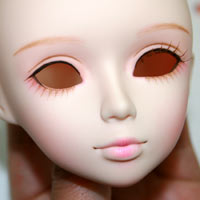
|
 |
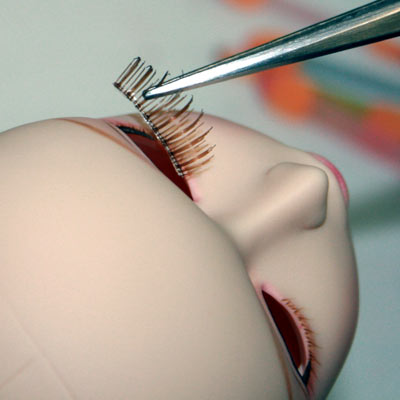
 |
 |
|
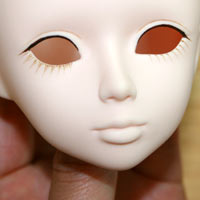
6.Paint
from the middle of the eye opening outward, using less pressure on your stroke
from its starting point to ending point. Remember that you are not painting the
entire opening, but only the section where the eyelashes attach.
|
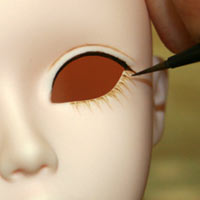
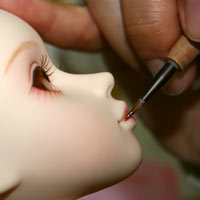
7. Draw eye lashes on the bottom of the
eyes using a weakened brown using drops of water. Put a lot of paint and get rid
of excess water with Kleenex before starting. Draw lines two millimeters apart.
She recommends that right handed person started with right eye, which is more
difficult to work with for a right handed person. And then imitate the lines on
the left eye.
|
8. Don't forget to get rid of excess paints before making lines. Instead of drawing
lines with the tip of the brush, lay the brush on the eye edge lightly to create
each eyelash. After making major lines on the right eye, do the same on the left
eye.
|
 |
 |
 |
|
9. Once the major
lines are completed on the lower eyes, determine the location of the outer corner
of eyes (the point that the upper and lower eye lids intersect. )
|
10. Paint minor, shorter or lighter eyelashes
in between your first set, twisting some for realistic effect.
|
11.Add some additional eyelashes near the
outer corner of the eye including some longer lashes.
|
 |
 |
 |
|
12. Add some color
near the lower outer eye area.
|
13.Use
the middle section of your brushes bristles. Light pink or dark color would be
a good choice, depending on the color of eyes you choose. In this tutorial she
chose dark brown.
|
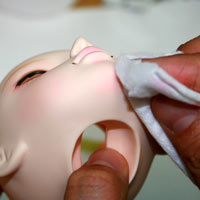
14.
Positioning eyebrows is very difficult. A right-handed person should start with
the right eyebrow. Use paint diluted with water. Repeat if you don't like your
original result. The paint can be wiped off with a weak acrylic thinner or fingernail
polish remover.
|
 |
 |
 |
|
15.Water
soluble color pencils are a good alternative to color paints. They might make
it easier to draw also.
|
16
Eyebrows change the facial expression a lot.
|
17.
Draw the left eyebrow in the same fashion as the right one.
|
 |
 |
 |
|
18. Layer a little darker color
over the existing color, by adding thin lines.
|
19.
In this tutorial, she lowered the outer corner a little bit, which creates a gentle
look.
|
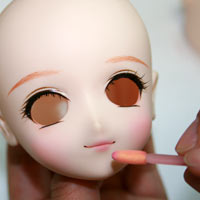
20. Next
goes the lips.
|
 |
 |
 |
|
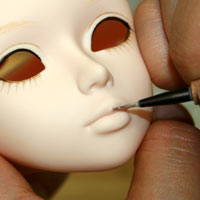
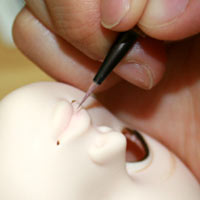
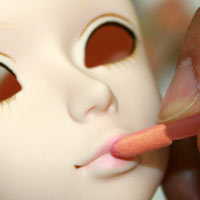
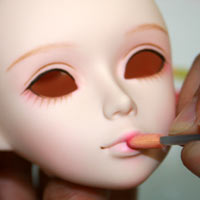
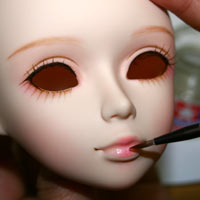
21. Draw lips with
pale pink. Layering the color is the key to make beautiful lips.
|
22. Add a little brown at the edge of the
lips. (Don't put too much brown on.) Dab with a wet Kleenex very gently to make
a natural look. (You can skip this if you like.)
|
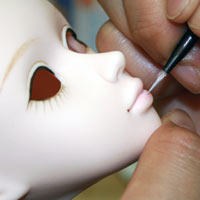
23.
Add thin vertical lines on the lips to create a realistic look. Some artists use
red paint and some use white paint.
|
 |
 |
 |
|
24. She used white
paint on the lips in this tutorial, which is recommended for beginners.
|
25.
After this step, she would finish up the lips with the pastel powder.
|
26.Shave pastels into powder on a white
paper. You can use a utility knife for it.
|
 |
 |
 |
|
27.Put the pastel powder on the
lip.
(You can skip steps 20-25 and use just pastel powder for the lip.) |
<Another example>
|
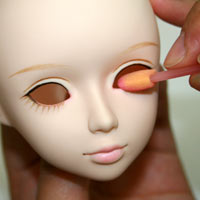
28. Add a little pink pastel powder around
the edge of the lower eye openings.
|
 |
 |
 |
|
29. Add some pastel
powder (the color you like) over the eyes.
|
30.
This is what she did around eyes so far. She recommended not to overuse the pastel
powder.
|
31.
Add some shadow to the eyebrows.
|
 |
 |
 |
|
31. If you want to
have darker eyebrows, add some darker color pastel powder over the eyebrows.
|
32. Next is putting color on the cheeks.
|
33.Put some pastel powder on the back of
your hand and dab with a cotton gauze, making sure the powder is distributed evenly.
|
 |
 |
 |
|
34. Dab powder on cheek area.
Depending on the location you add colors, the facial impression will change a
lot. When you put color from cheek to close to the ear, you can make an adult
face, When you add color near the outer part of the eyes, you can create a sexy
impression. Try more than one colors to layer and create shadows. (With the Gretel
head, adding color on the cheek creates girls face, and not adding color on the
cheek creates a boyish face.)
|
35.
Add some pastels under the lower eyelids. Don't add too much!
|
36. Add some pastels around upper eyelids
also.
|
 |
 |
 |
|
36. Add
some under the lips and chin also.
|
37. She added some more pastels on the lip
because she thought it needs a little bit more color.
|
|
 |
 |
 |
|
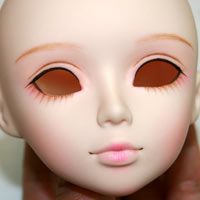
38. finished
|
39. Next she is going to put eye lashes
on the face.
|
40. Trim eyelashes
depending on the eye size.
|
 |
 |
 |
|
41. Put adhesive
agent on the edge of the upper eyelids. She used the regular kind (not fast drying
kind) and let it half-dry.
|
42.
Using tweezers or pinset, attach the eyelashes to the eyes.
|
43. Do not attach the eye lashes too close
to the corner of the inner eye. Remember also that the eyelashes should be longer
towards the outer eye and shorter closer to the inner corner of the eye.
|
 |
 |
 |
|
44.Picture illustrating
eyelash placed on left eye.
|
45.Place
eyelashes over right eye using same technique.
|
46.Apply
Tamiya
X-22 Clear to eyelashes for a glossy look.
|
 |
 |
 |
|
Apply Tamiya Clear to lips for
a glossy look.
|
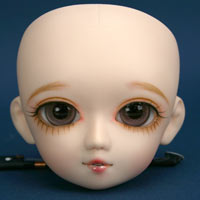
Finished!
|
|
 |
 |
 |
|
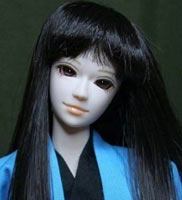
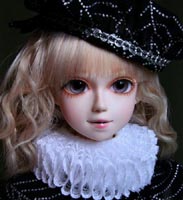
another make-up sample
|
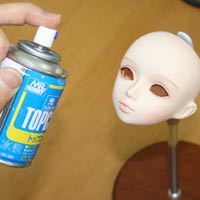
Spray topcoat over the face
|
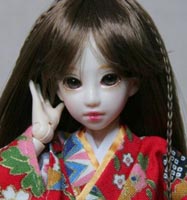
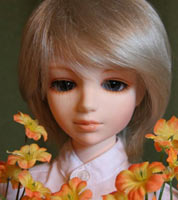
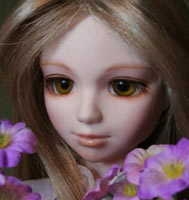
sample make-up with Angela head
|
| another make-up sample | ||
 |
 |
 |
 |
 |
 |
 |
 |
 |